How Edge Sanding Will Prepare a Wood Panel for Paint
Like many other things in the sign trade, there are several ways to prepare a substrate for paint. The preparation method that is chosen for a particular wood panel will depend in part on the nature of the material.
Every material used for substrates has unique properties that will require specific preparation methods. Once the panel is cut to size, there will be machine marks that normally should be removed prior to coating.
Also, if the material is MDO, you should fill any voids in the edges with a wood filler prior to sanding. The most common method to remove those marks is sanding. Sanding seems straightforward but experience level of the sign maker does come into play.
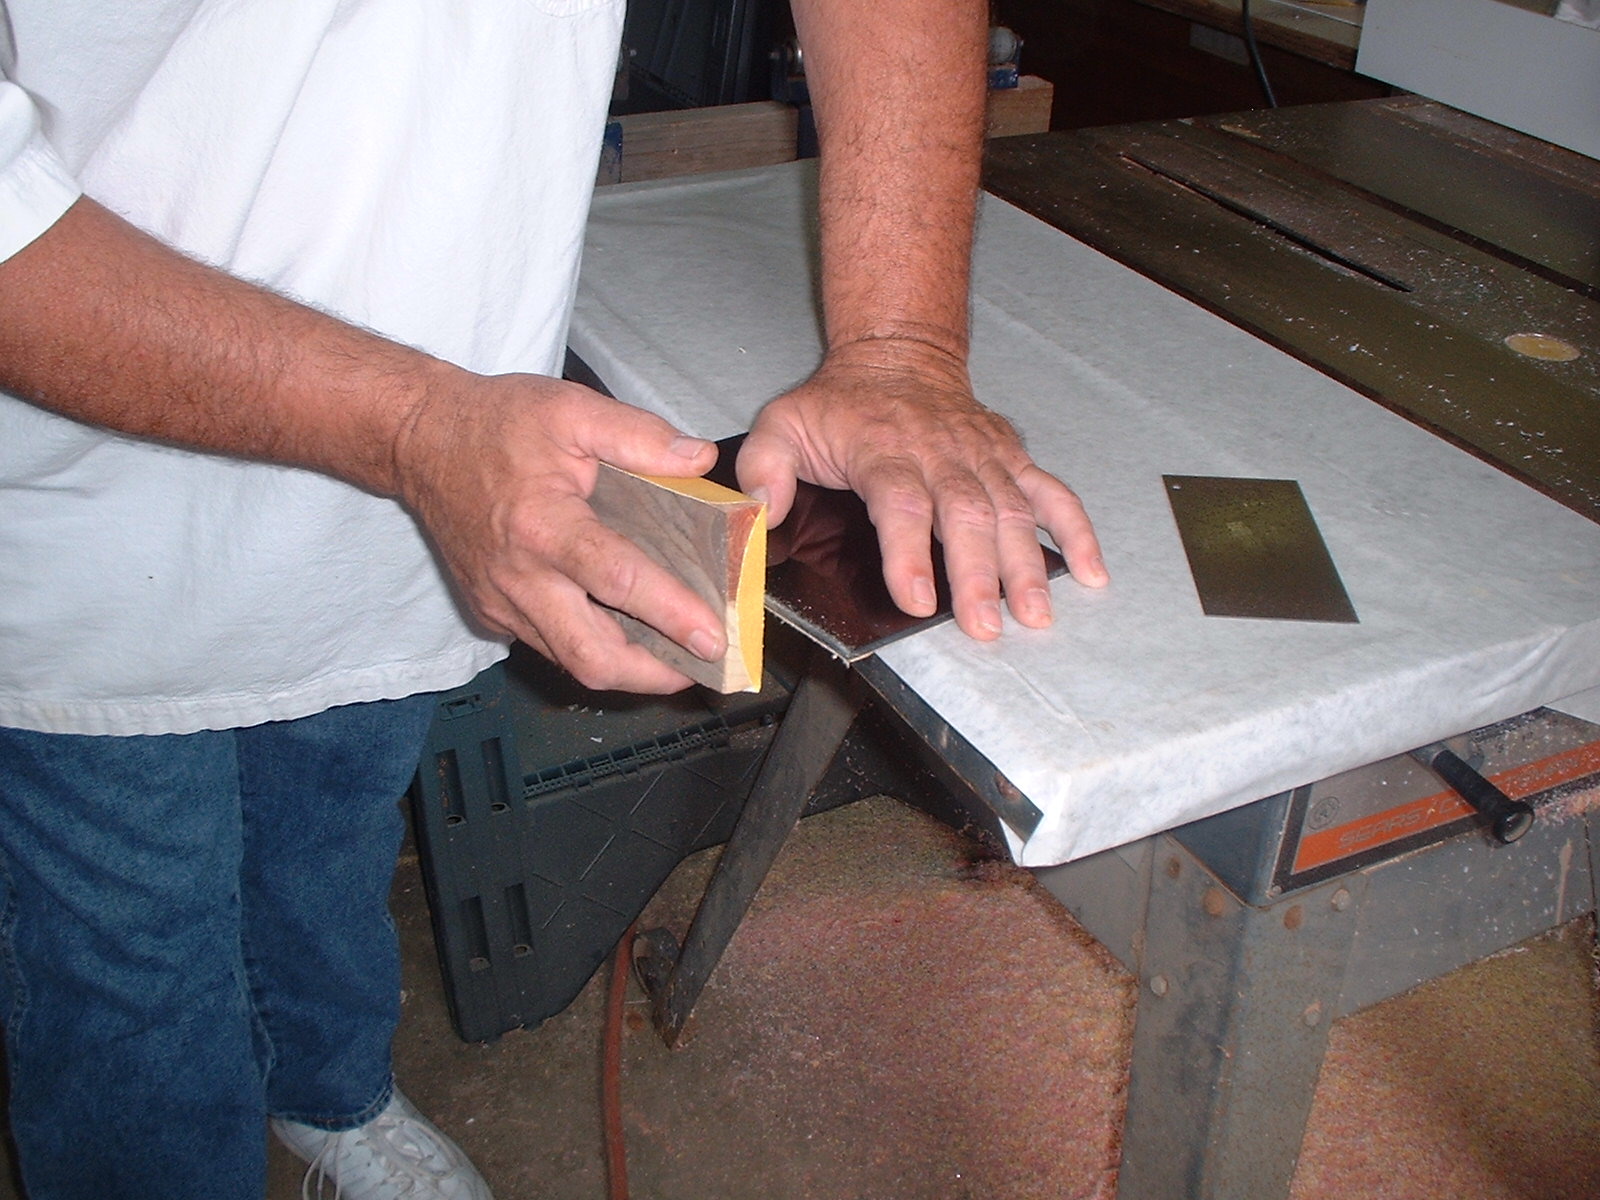 Here I am hand sanding a plaque using a sanding block to prepare the plaque for paint.
There are several methods of sanding. Hand sanding is the most basic and the most time consuming. It also will round the edges if you do not use a sanding block.
A sanding block is a piece of wood (usually scrap material) with sandpaper tightly wrapped around the block. You should cut the block so that your hand will comfortably hold the block and it should be about the same width and the sandpaper you are using.
There are also commercially available sanding blocks as shown below.
My Choice of Power Sander
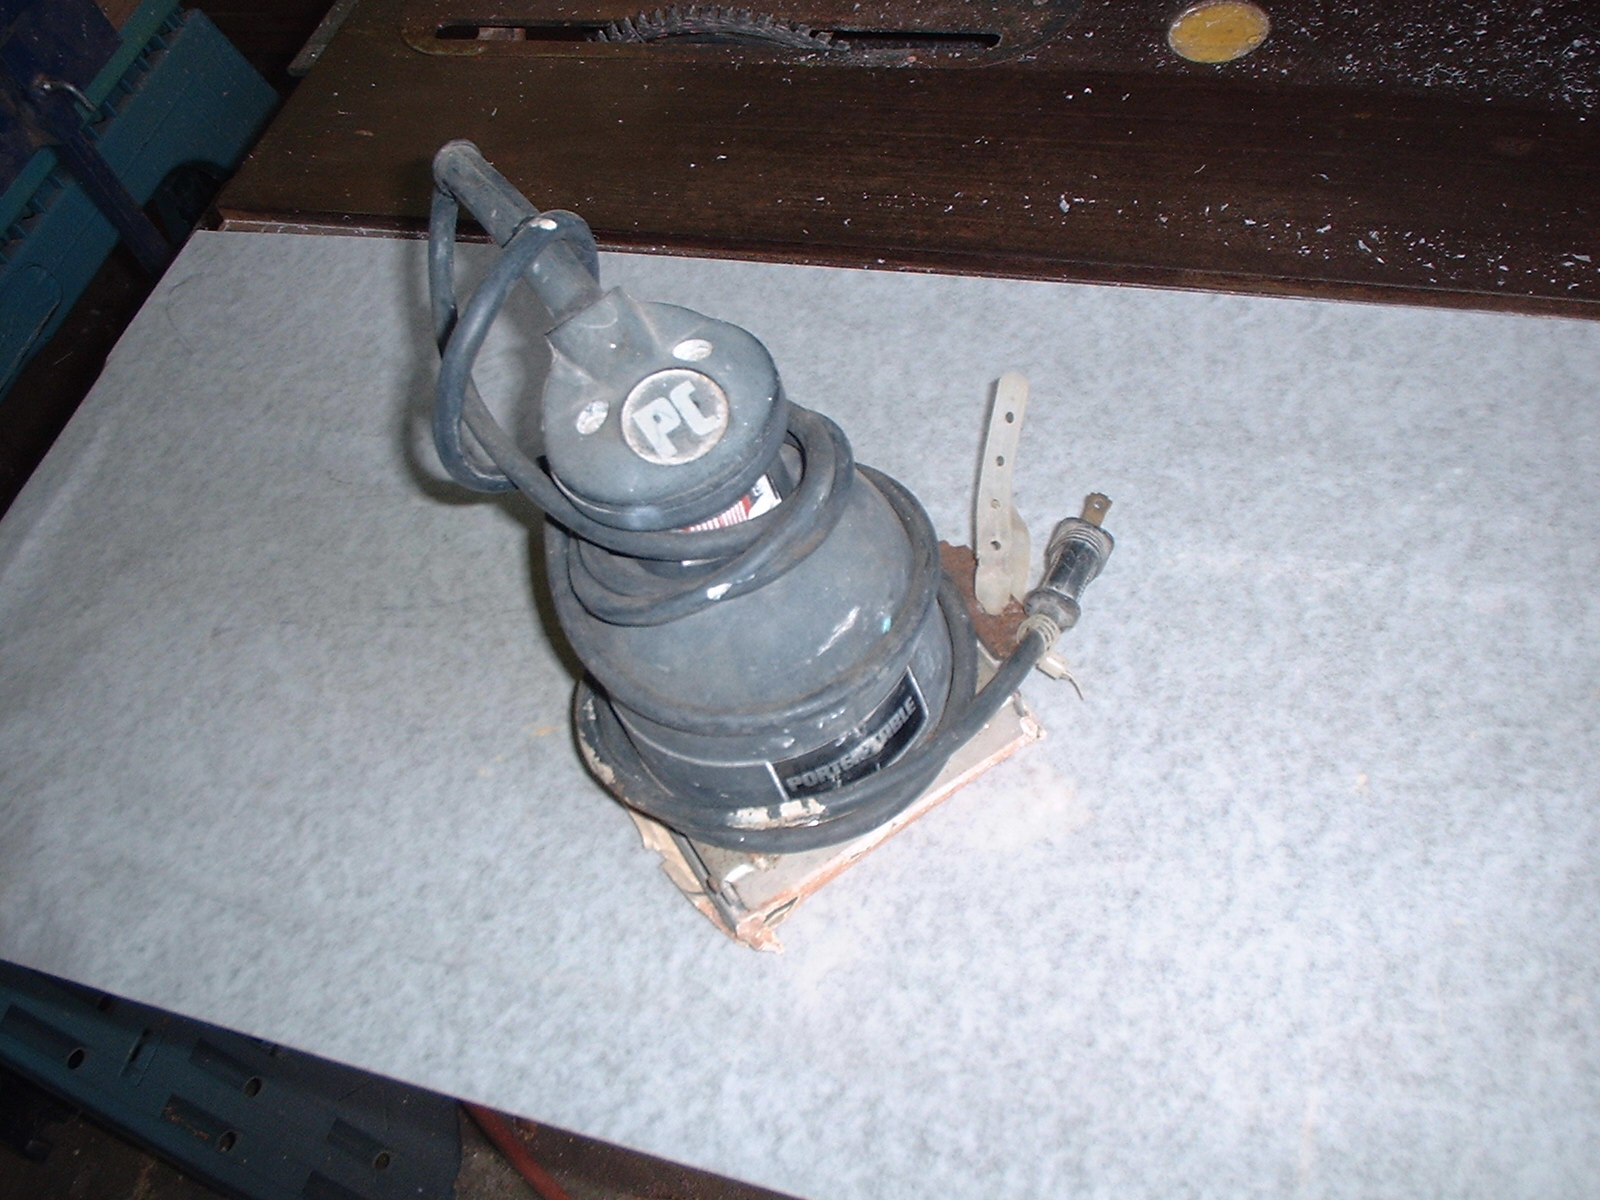 This is one type of orbital sander that I use for preparing a panel for Paint. It's called a Palm Sander.
A step up from hand sanding is a handheld electric or pneumatic sander. This tool will be faster but dangerous in the inexperienced hands. By dangerous, I mean leaving the surface uneven or the edges rounded when you want them straight.
My favorite is an electric orbital disc sander. That will usually render a smooth and true edge with minimum operating skills required. You can also get either adhesive backed sandpaper discs or even better, hook and loop to hold the paper to the sander.
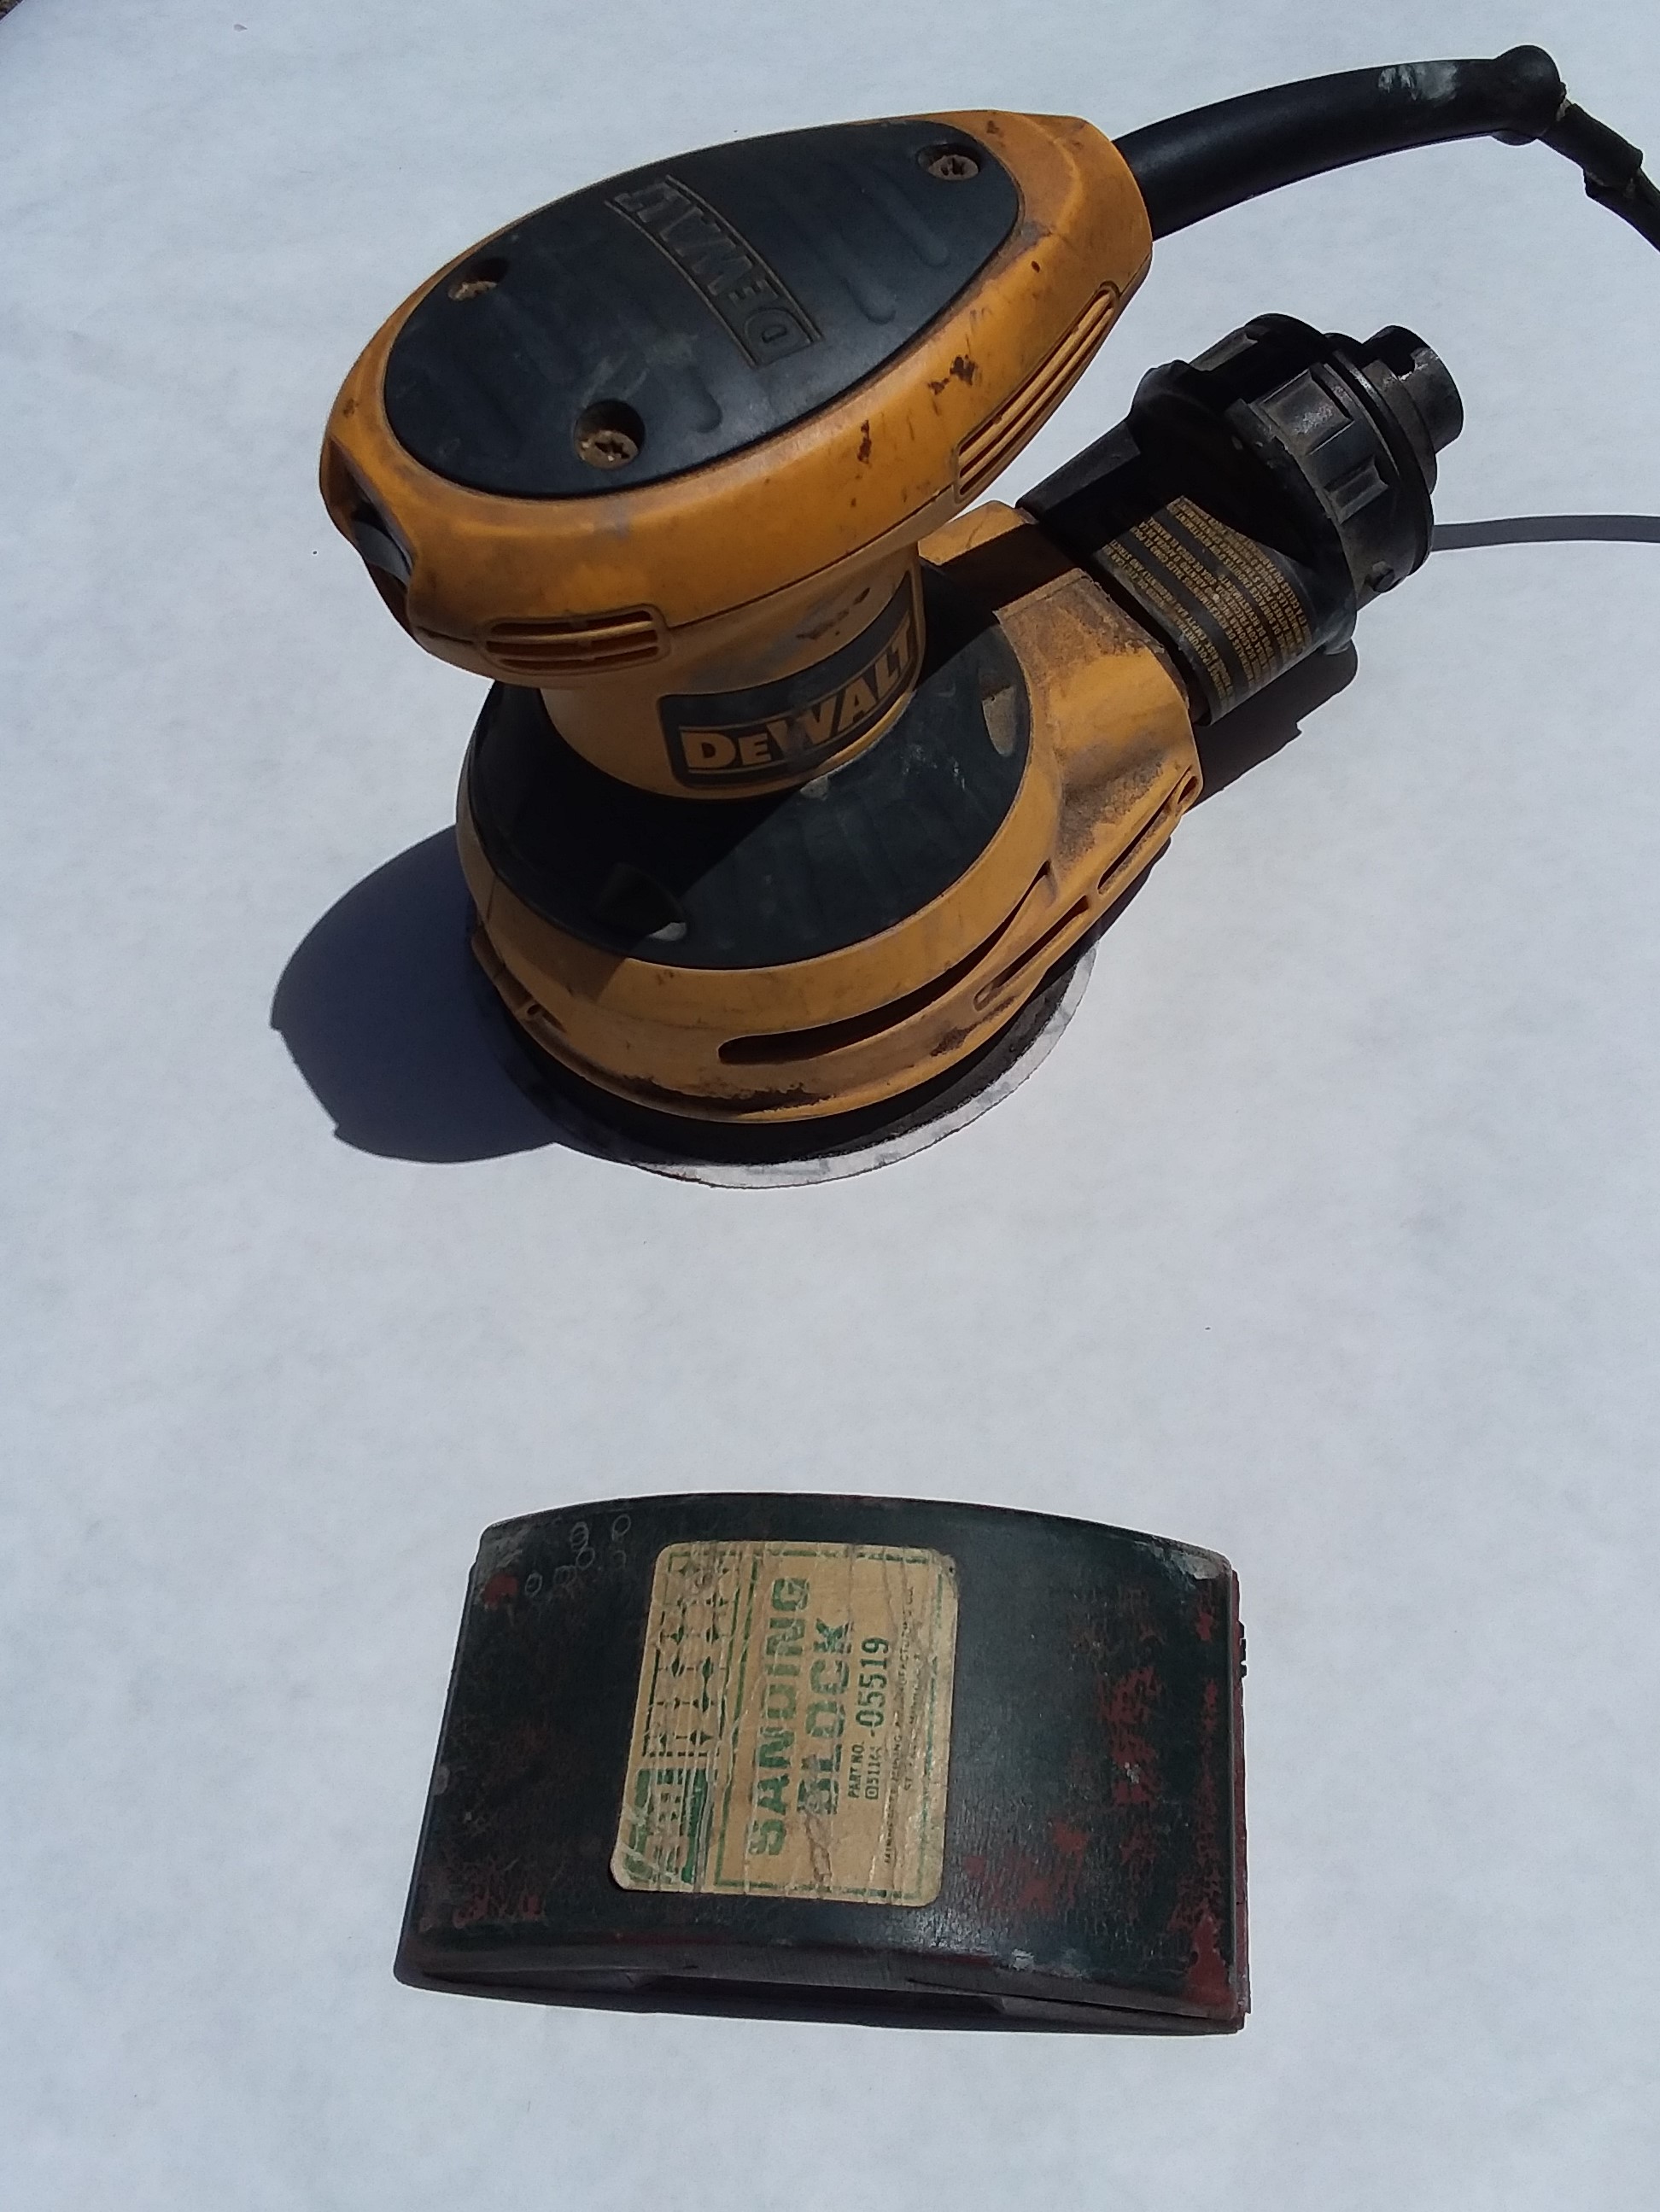 Orbital Disc Sander that is my choice and commercial sanding block.
Belt, oscillating belt, and large disc sanders are also good but remove lots of material in a short time. Too much of a good thing can be a bad thing!
Belt sanders are very difficult to control and almost always will make a flat surface uneven and that will show when you apply your finish.
But, before you paint or stain your panel, and after you have scuffed the face, smoothed the edges and back, you must prime or seal the entire panel. Yes, I do mean the back also. It may or may not show once it is installed, but you should also prime or seal it.
But, before you paint or stain your panel, and after you have scuffed the face, smoothed the edges and back, you must prime or seal the entire panel. Yes, I do mean the back also. It may or may not show once it is installed, but you should also prime or seal it.
On the edges, I would recommend that you start with a 60 grit sandpaper and then finish sand with a 100, 150, or 220 grit sandpaper.
The 60 grit will remove any saw marks quickly and the finer grits will leave a smooth edge. Since the face and maybe the back will be smooth already, the finishing sandpaper (220 grit) is only to scuff the surface to receive the primer and/or paint.
Good news, you can probably buy your MDO already primed on both front and back from a Sign Supply wholesaler or retailer in your area.
Bad news, the edges most likely will not have the voids filled and the edges probably will not be sanded and primed.
Please refer to ___________ for information on priming your sign panel.